Android hide navigation bar programmatically
Change color toolbar android studio
In our mission to offer you week by week cheap unlocked cell phones, we constantly renew our online store. And that's why, at TopMóviles, you are waiting for amazing deals on smartphones from Samsung, iPhone, Huawei, Xiaomi and Oppo.
But when it comes to the notch... are you for or against it? There's a chance you may not know exactly what that term means. But in the following paragraphs, we'll take care to explain it all to you, evaluating the different types of notch, and the alternatives that brands are looking for to not integrate it. In addition, we venture to ask if its future will not be to disappear?
Hide android studio status bar
To return to the previous page, the application will display the current page in the navigation stack and the new top-level page will become the active page, as shown in the diagram below:
The Navigation property exposes the navigation methods on any of the Page derived types. These methods provide the ability to insert pages into the navigation stack, pop pages out of the navigation stack, and manipulate the stack.
In hierarchical navigation, the NavigationPage class is used to navigate a stack of ContentPage objects. The following screenshots show the main components of the NavigationPage on each platform:
On all platforms, the value of the Page.Title property will be displayed as the page title. In addition, the IconColor property can be set to a Color element that is applied to the navigation bar icon.
This causes the Page1XamlContentPage instance to be inserted into the navigation stack, where it becomes the active page and the root page of the application. This is shown in the screenshots below:
Toolbar'' android
I know that the question is already answered, but some time ago I was looking just how to hide or remove the ActionBar and I collected in a PDF the most used methods to do it (they have already been said in other questions but, in my opinion, they have not been explained correctly).
To make it clear, the option that is always recommended to use, is the one in the Manifest.xml, the OPTION 1. In case you cannot use it, either because it does not work for you or for any other case, use the other options.
With this collection you can choose the form that you like the most. In addition, with these examples, we have been able to realize that whenever we use AppCompatActivity and we want to modify some option of the app, it is good to search also with the word support, which is what brought me head over heels.
Navigation drawer android
Let's take care of the styles. In the file /res/values/themes.xml we declare as global theme of the application one of type DayNight from Material Components with support for light and dark theme. Specifically, the one that does not apply to the system ActionBar (we are defining our own Toolbar). All this configuration is described in the corresponding tutorial.
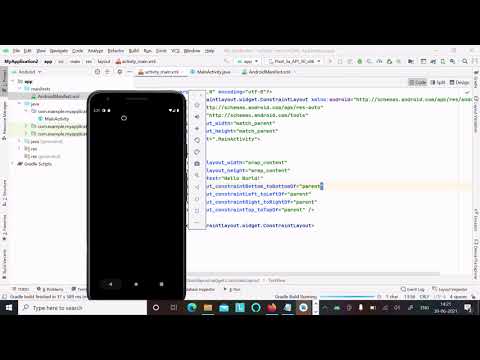
There is a detail that can pass unnoticed: in ConstraintLayout I activated fitsSystemWindows so that the layout receives a padding that separates it from the status bar. If I had not done it, the following undesirable effect will occur, worse the bigger the status bar is:
I won't go deeper into Navigation; what we'll see is how to integrate it into the example project, so that we won't have to program by hand the navigation that in the previous section we wrote in a NavigationView.OnNavigationItemSelectedListener.
Remember that all the screens are the same fragment; it only changes the text that it will show inside and that it receives as an argument. For this reason, I have used an <argument> block to set that argument.